Laravel is one of the most popular PHP frameworks for building modern web applications. Whether you’re creating a simple website, an eCommerce platform, or a large SaaS application, Laravel offers a clean syntax, powerful features, and an excellent developer experience.
In this guide, you’ll learn how to install Laravel 12 on both Windows and macOS from scratch.
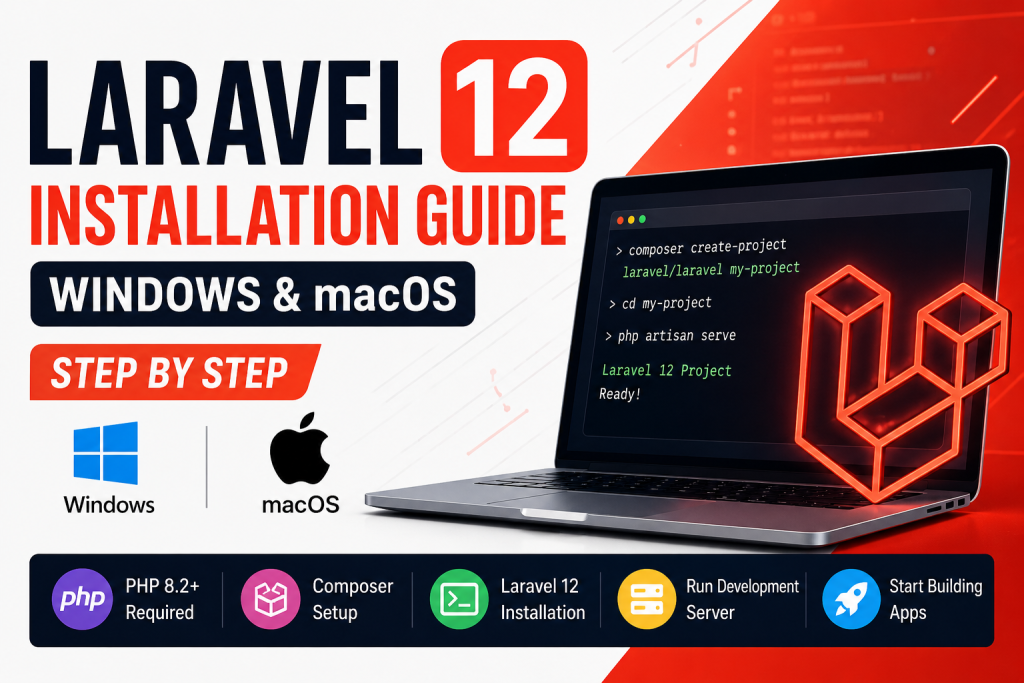
System Requirements
Before installing Laravel 12, ensure your system meets the following requirements:
- PHP 8.2 or later
- Composer
- Git
- Node.js and npm (for frontend assets)
- A code editor like Visual Studio Code
You can verify your PHP version by running:
php -v
Check your Composer installation:
composer -V
Step 1: Install PHP
Windows
The easiest way is to install XAMPP, Laragon, or Herd.
After installation, open Command Prompt and verify:
php -v
If PHP is not recognized, add it to your system PATH.
macOS
Install Homebrew if you don’t already have it.
Then install PHP:
brew install php
Verify installation:
php -v
Step 2: Install Composer
Download Composer from the official website.
After installation, verify:
composer -V
If you see the Composer version, you’re ready for the next step.
Step 3: Install Laravel Installer (Optional)
Although you can create Laravel projects using Composer, the Laravel Installer makes the process faster.
Run:
composer global require laravel/installer
Make sure Composer’s global vendor bin directory is added to your PATH.
Verify:
laravel --version
Step 4: Create a New Laravel 12 Project
Using Composer:
composer create-project laravel/laravel my-project
Or using the Laravel Installer:
laravel new my-project
Wait for Composer to download all dependencies.
Step 5: Open the Project
Move into your project folder:
cd my-project
Open it in Visual Studio Code:
code .
Step 6: Configure Environment
Laravel creates a .env file automatically.
Open the file and configure your application.
Example:
APP_NAME=Laravel
APP_ENV=local
APP_DEBUG=true
APP_URL=http://localhost
For database:
DB_CONNECTION=mysql
DB_HOST=127.0.0.1
DB_PORT=3306
DB_DATABASE=laravel_db
DB_USERNAME=root
DB_PASSWORD=
Save the file.
Step 7: Generate Application Key
Run:
php artisan key:generate
You should see:
Application key set successfully.
Step 8: Start the Development Server
Run:
php artisan serve
Output:
INFO Server running on:

http://127.0.0.1:8000
Open your browser and visit:
http://127.0.0.1:8000
If everything is working, you’ll see the Laravel welcome page.
Step 9: Install Frontend Dependencies
Laravel uses Vite for frontend asset bundling.
Install Node packages:
npm install
Start the Vite development server:
npm run dev
Leave this terminal running while you develop.
Step 10: Create Your First Route
Open:
routes/web.php
Replace the default code with:
use Illuminate\Support\Facades\Route;

Route::get('/', function () {
    return 'Laravel 12 is working!';
});
Refresh your browser.
You should now see:
Laravel 12 is working!
Create Your First Controller
Generate a controller:
php artisan make:controller HomeController
Laravel creates:
app/
 └── Http/
      └── Controllers/
            HomeController.php
Example controller:
<?php

namespace App\Http\Controllers;

class HomeController extends Controller
{
    public function index()
    {
        return view('welcome');
    }
}
Update your route:
use App\Http\Controllers\HomeController;

Route::get('/', [HomeController::class, 'index']);
Common Installation Errors
Composer Not Found
Error:
composer: command not found
Solution:
- Restart your terminal.
- Reinstall Composer.
- Ensure Composer is added to your PATH.
PHP Not Found
Error:
php: command not found
Solution:
- Verify PHP is installed.
- Add the PHP executable to your PATH.
- Restart your terminal.
Permission Denied (macOS)
Run:
sudo chmod -R 775 storage bootstrap/cache
Missing Application Key
Error:
No application encryption key has been specified.
Run:
php artisan key:generate
Vite Manifest Not Found
Run:
npm install
npm run dev
Useful Artisan Commands
Create a controller:
php artisan make:controller UserController
Create a model:
php artisan make:model Post
Create a migration:
php artisan make:migration create_posts_table
Run migrations:
php artisan migrate
Clear cache:
php artisan optimize:clear
List all routes:
php artisan route:list
Best Practices After Installation
- Keep Composer packages updated regularly.
- Use Git for version control.
- Store sensitive information only in the
.envfile. - Use environment-specific configurations.
- Keep your dependencies up to date.
- Follow Laravel’s coding standards for better maintainability.

Conclusion
Installing Laravel 12 is straightforward once you have PHP, Composer, and Node.js set up correctly. After completing the installation, you can start building modern web applications using Laravel’s powerful ecosystem.
Whether you’re a beginner learning PHP frameworks or an experienced developer building production-ready applications, Laravel provides the tools and flexibility needed to create secure, scalable, and maintainable projects.
Start experimenting with routes, controllers, models, migrations, and Blade templates to become familiar with the framework. As your skills grow, you’ll be ready to explore advanced topics like authentication, APIs, queues, jobs, and deployment.
Frequently Asked Questions (FAQ)
Is Laravel 12 free to use?
Yes. Laravel is an open-source PHP framework released under the MIT License and is free for personal and commercial projects.
Can I install Laravel 12 without Composer?
No. Composer is required to install Laravel and manage its dependencies.
Which PHP version is required for Laravel 12?
Laravel 12 requires PHP 8.2 or later.
Do I need Node.js for Laravel?
Node.js is not required to run Laravel itself, but it is needed to compile frontend assets using Vite.
Which operating systems support Laravel 12?
Laravel 12 supports Windows, macOS, and Linux, provided the required software is installed.